What Is Zentangle Art: A Complete Guide with Practical Steps & Tips
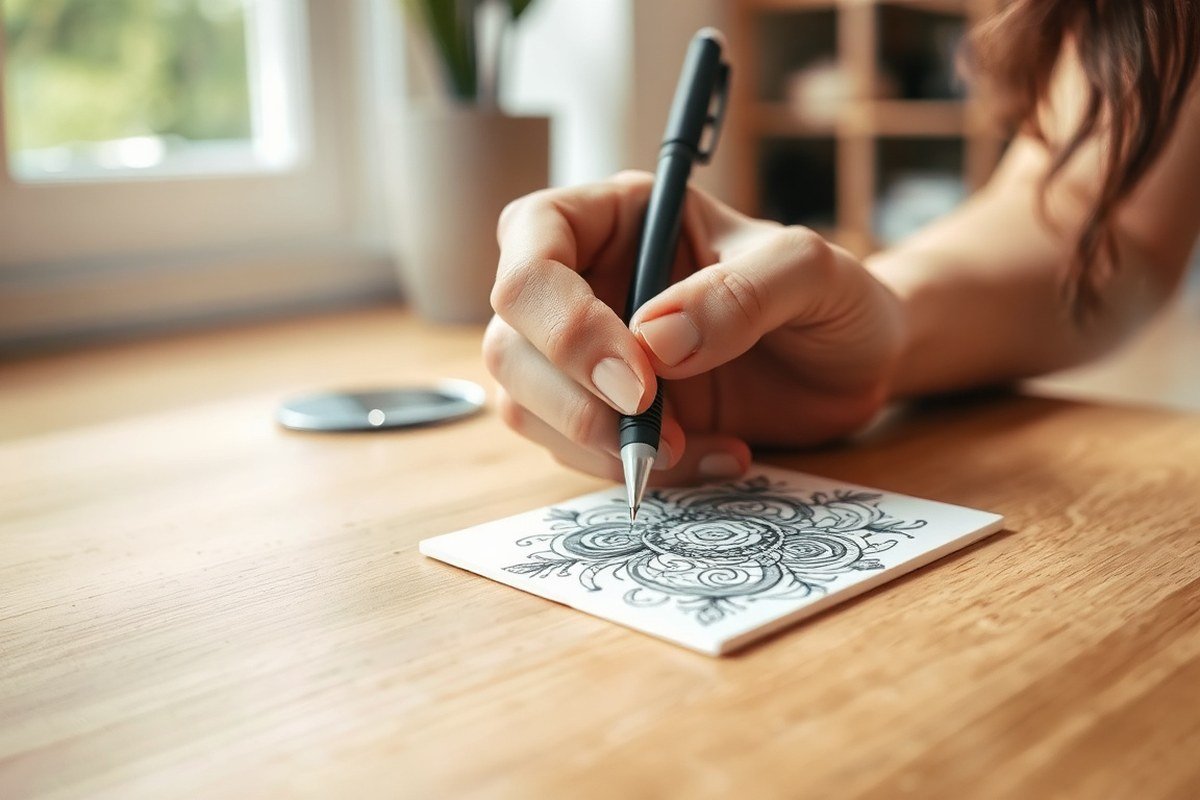
What is Zentangle art? Zentangle is a method of drawing structured, repetitive patterns on small square tiles that promotes relaxation, focus, and creativity. It differs from casual doodling by requiring full attention and mindfulness. You can start creating Zentangle art with just a pen, pencil, and a small piece of paper around 3.5 inches square.
Key Takeaways
- Zentangle art uses a 3.5-inch square paper called a tile for all drawings.
- Use black ink pens like Micron pens for clean, waterproof, and smudge-free lines.
- Shading is added with a grey pencil to create depth and texture in your Zentangle.
- A typical Zentangle tile takes between 30 minutes and 2 hours to complete depending on complexity.
- You can start Zentangle art immediately with inexpensive or household supplies under $10.
- Zentangle requires focused attention, making it a meditative practice rather than casual doodling.
What Is Zentangle Art and How Does It Differ from Doodling?
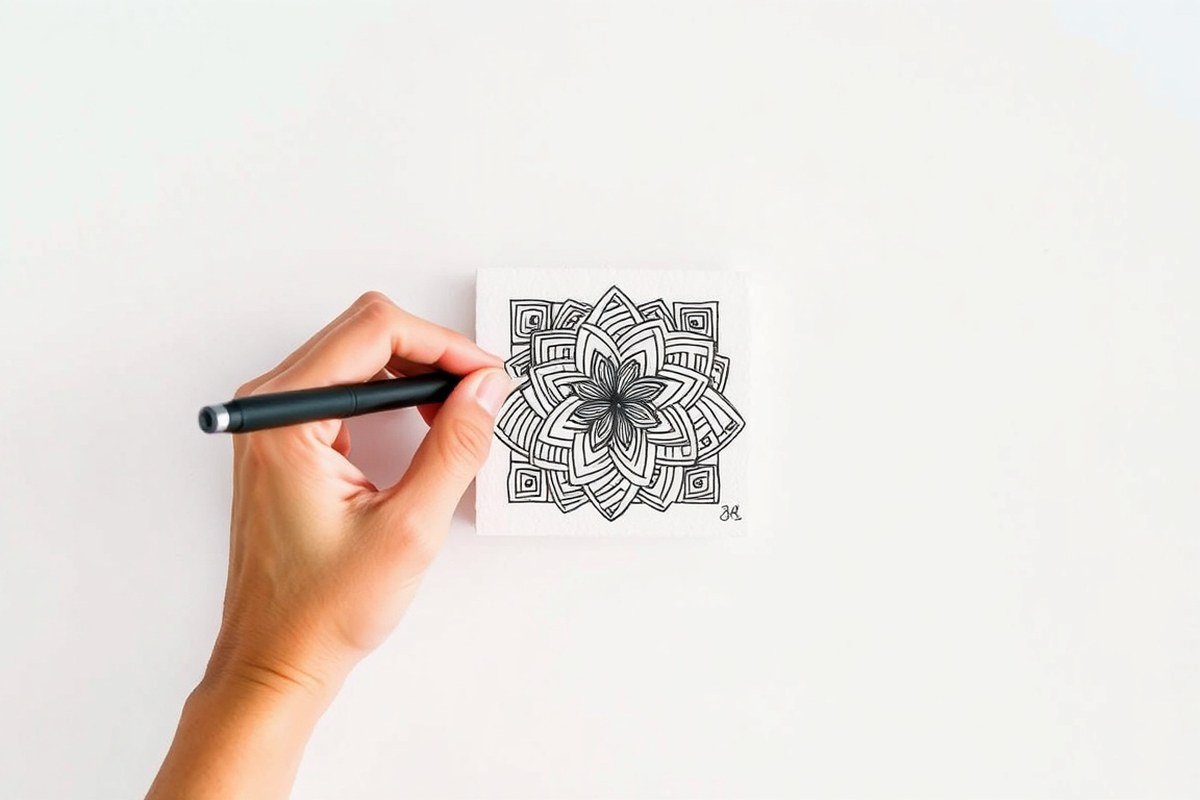
Zentangle art is a precise, mindful drawing technique developed by Rick Roberts and Maria Thomas. It uses simple abstract patterns called tangles, sketched on compact square tiles roughly 3 inches wide. Drawing each line carefully helps you relax and concentrate deeply. This focused method distinguishes Zentangle from random doodling, which usually lacks intention or calm focus.
Unlike regular doodling, Zentangle is not done while distracted or multitasking, such as during a phone call or lecture. The Zentangle Method requires full attention to the act of drawing, making it almost like a ceremony. This focus helps reduce stress and bring clarity, which is why it is also considered a form of art therapy. The repetitive patterns usually feature a unique “string,” or border, dividing the tile into sections, making every Zentangle tile one of a kind.
An authentic Zentangle tile follows guidelines set by its creators, emphasizing specific tangles and techniques. While some people create “Zentangle-inspired art,” works that look similar but don’t follow these rules, only true Zentangle pieces adhere to these structured methods. You don’t need to be an artist or have prior drawing skills to start; the process welcomes beginners and can be done with simple pens and paper. Official Zentangle starter kits cost around $15 to $25 but basic materials work just as well.
To create your own Zentangle tile, you begin with a blank square tile and draw a random border called a string. Then, within these sections, you fill the space with repetitive patterns slowly and thoughtfully. Rotating the tile as you work maintains a relaxed hand position, making the drawing comfortable. Expect your first tile to take between 30 minutes and up to 2 hours depending on complexity and your pace. This careful, focused approach is what gives Zentangle its calming and restorative effect, distinguishing it clearly from casual, unfocused doodling.
Essential Materials and Workspace Setup for Zentangle Beginners
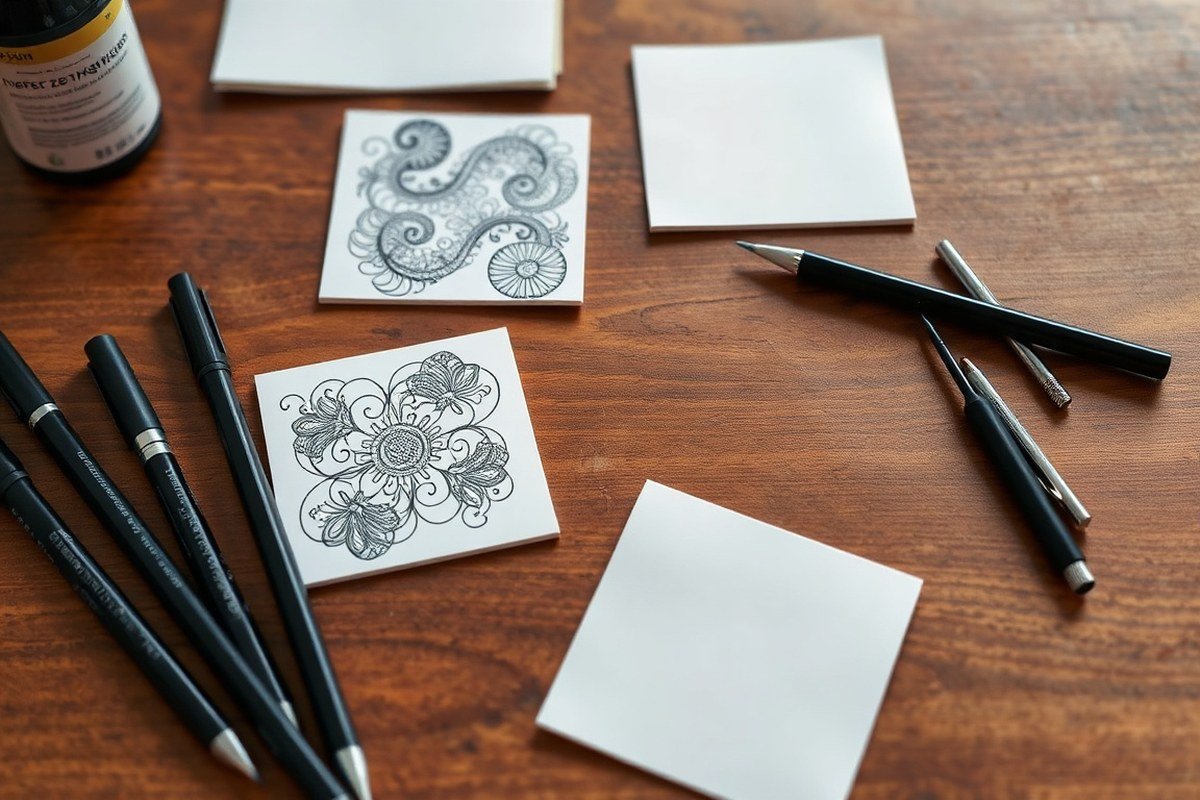
You need just a few basic materials to start creating Zentangle art, and you don’t have to spend a lot. The core items include a pen with black ink and a small square piece of white paper, ideally 3.5 inches (8.9 cm) on each side, called a tile. While special Micron pens, which cost about $12 and offer waterproof, quick-drying ink in various tip sizes, are popular for their smooth and precise lines, any black pen or fine-tip marker you already have will work fine.
A pencil for drawing a light square border around your tile is also essential because it frames your Zentangle patterns and helps keep your design neat. Traditional Zentangle uses black on white paper with grey pencil shading for depth. Though you can start on paper, artists sometimes experiment with other surfaces once comfortable with the technique.
- 3.5 inch white square tiles or cut paper squares
- Black ink pen, preferably fine-tip Micron or any available pen
- Graphite pencil for borders and shading
- Sharpener for pencil
- Blending stump or cotton swab for shading
- Clean eraser
Your workspace should be quiet and comfortable to help you stay focused, even if it’s just a small corner of a room. Good lighting matters because it reduces eye strain and helps you enjoy the details of your patterns. Arrange your supplies within easy reach to avoid interruptions in your flow. A smooth, flat surface ensures that your pen glides smoothly and your lines stay clear.
You can start Zentangle with under $10 by using supplies you already own. The key is to keep materials simple to let your mind relax into the rhythm of drawing. Avoid clutter or distractions nearby to create a calm environment that supports mindfulness during your practice.
Step-by-Step Guide: How to Create Your First Zentangle Tile
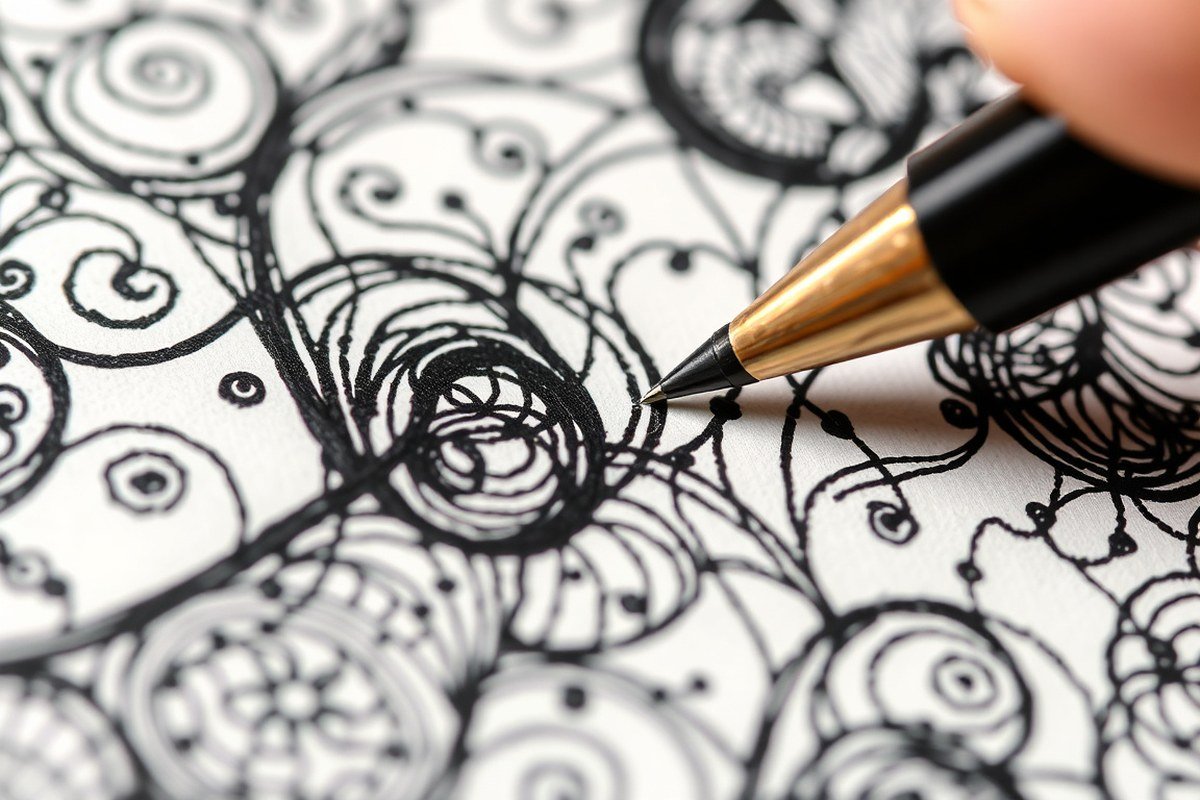
Creating your first Zentangle tile involves simple steps that guide you through forming structured, meditative patterns called tangles. The String sets up your workspace by dividing your tile into sections, each filled with a unique tangle. This process encourages mindfulness as you repeat easy patterns, helping you to relax and focus.
- Lightly sketch the string. Use a pencil to draw a random but gentle line or shape on your square tile. This string serves as a guideline that divides the tile into smaller, manageable areas for your patterns.
- Select beginner-friendly tangles. Start with simple patterns like “Printemps” (spirals), “Crescent Moon,” or “Bales.” These patterns use basic shapes and lines that are easy to repeat and combine within each section.
- Fill each section with tangles. Using a fine-tip pen, carefully draw your chosen patterns inside each area formed by the string. Keep your strokes deliberate but relaxed, allowing your hand to move naturally.
- Add shading to create depth. With a pencil, softly shade edges or spaces around your tangles to give your design dimension. This subtle shading enriches the visual interest and brings your tile to life.
- Erase the string if desired. Once your patterns and shading are complete, you can gently erase the pencil string lines if you prefer a cleaner look. Avoid smudging your penwork.
- Sign your tile. Mark your artwork with your initials and the date to personalize and keep track of your progress.
- Preserve your tile. To keep your Zentangle safe, consider placing it under a glass frame or inside a sketchbook. Avoid exposure to moisture or excessive sunlight to prevent fading or damage.
Typical Session Lengths and How Long Zentangle Takes for Different Goals
Zentangle sessions can fit into your schedule in different ways, depending on your goals and how much time you want to spend. Taking 10 to 15 minutes to practice Zentangle art can be an effective way to relax and clear your mind during a quick break. This short session allows you to focus on simple strokes and patterns, providing a calming pause during a busy day without any pressure to finish a complex piece.
For those seeking a deeper experience, setting aside 30 to 60 minutes works well. This longer period lets you immerse yourself in the process, creating more detailed and layered designs. Taking your time encourages mindfulness and focus, which are key benefits of Zentangle art. Each stroke serves as a moment of relaxation, making it easier to unwind completely after a busy or stressful day.
Zentangle art encourages spontaneity, so rushing is not necessary or recommended. Starting with a basic outline called a “string,” you divide the tile into sections that guide your tangles without feeling planned or stiff. This approach supports creativity for all skill levels and helps build self-confidence as you see your art take shape. Spending a few minutes or up to an hour on Zentangle art centers on the process itself, not on finishing the final image.
You don’t need special skills or a large time commitment to enjoy Zentangle. For beginners or people with little artistic experience, even brief sessions offer therapeutic benefits like reduced stress and improved attention. The time you take affects how complex your creation can be, but every session fosters well-being through focused, mindful art-making.
Common Zentangle Mistakes and How to Improve Your Drawing Experience
Common mistakes in Zentangle often stem from trying too hard to make perfect patterns or rushing through the process. Zentangle encourages you to embrace imperfections, as the string, the boundary that guides your patterns, doesn’t need to be exact or symmetrical. Focus on enjoying the strokes and the flow instead of worrying about the final look. Avoid self-criticism and fearing mistakes; each line is part of your creative journey.
One way to improve your Zentangle is by establishing a steady pace that lets you concentrate on each stroke. Repetitive patterns help sharpen your focus, so take your time to notice how the pen moves on the paper. You can relax your mind by gently redirecting wandering thoughts back to the drawing. A lack of flow often happens when you overthink or expect immediate results, so remind yourself this is a meditative process that welcomes experimentation.
- Start with simple patterns to build confidence, avoiding overwhelming complexity.
- Use a fine-tip pen for clearer, consistent lines that improve pattern details.
- Keep your workspace calm and free of distractions to improve focus.
- Flip the tile or change your hand position to discover new drawing angles.
- Stop drawing when you feel tension or frustration and try again later.
Zentangle has no strict rules limiting creativity; feel free to explore variations as long as you keep the process relaxing. To tell if Zentangle is helping you relax or focus, check if your breathing slows and your mind becomes quieter during the session. If you notice growing frustration or distraction, pause and reset your approach. Regular practice will train your brain to enter a calm, creative state more quickly over time.
Your First Week: A Quick-Start Plan for Zentangle Art
Follow this plan to begin your Zentangle journey with simple steps and clear goals, making your experience relaxing and creative.
- Day 1: Gather your basic materials, a pen, pencil, and small paper tile. Confirm you have all items before you start.
- Day 2: Set up a quiet workspace with good lighting. Notice if you feel calm and focused when you sit down.
- Day 3: Practice drawing simple tangles on scrap paper. You’ll know you’re ready to move on when your lines feel steady and relaxed.
- Day 4: Create your first Zentangle tile using the step-by-step method. Feel satisfaction in completing the pattern without rush.
- Day 5: Reflect on your drawing: note any mistakes or areas to improve calmly. Recognize progress rather than perfection.
- Day 6: Try a 15-minute Zentangle session focusing on mindful breathing while drawing. You should notice increased relaxation during and after.
- Day 7: Share your tile with a friend or online Zentangle community. Look for supportive feedback and new ideas to try.
Frequently Asked Questions
Is Zentangle Art Suitable for Children and Seniors?
Yes, Zentangle art is accessible to all ages and skill levels because it requires no prior experience and promotes relaxation and focus. It can be a gentle creative practice for beginners, regardless of age.
What Defines a Zentangle Tile?
A Zentangle tile is a small, square piece of high-quality paper where you create structured patterns called tangles to form a complete design. The tile size is typically 3.5 inches square.
How Does Zentangle Help with Stress Relief?
Zentangle encourages mindfulness by focusing on simple, repetitive strokes, which promotes relaxation and reduces stress. Drawing these patterns slows the mind and can act as a meditative practice.
Can I Use Regular Paper and Pens for Zentangle?
Yes, you can use basic pens and any paper to create Zentangle art, but high-quality materials are recommended for lasting works you want to keep or display.
What Is the Difference Between Zentangle and Zentangle-Inspired Art?
Zentangle art follows specific guidelines and patterns called tangles, while Zentangle-inspired art resembles this style but doesn’t follow the official rules or Method.
The Bottom Line
Zentangle art offers a simple, structured way to enjoy creative expression and relaxation through drawing. Taking your first steps with care will help you build confidence and appreciation for the process. Try dedicating a few minutes today to draw a basic tangle and observe how it affects your mood and focus.