How to Make Pixel Art in Procreate: Complete Setup and Tips for Best Results
How to make pixel art in Procreate starts with setting up a small canvas, typically around 100 by 100 pixels, with a transparent background for precise control. Use a hard-edged brush set to a 1-pixel size to ensure sharp, clean lines. Adjust brush settings like spacing and pressure so each pixel is distinct and uniform, which preserves the pixelated look.
Key Takeaways
- Set your Procreate canvas size to 100×100 pixels for ideal pixel art resolution.
- Choose a hard, 1-pixel brush to create sharp, clean pixel edges without blurring.
- Set Stroke Path spacing to 100% to place one pixel per pen tap instead of continuous strokes.
- Disable Apple Pencil pressure size to fix pixel size consistently across all strokes.
- Reduce brush properties like Preview, Smudge, and Opacity minimums to 0% to avoid unwanted effects.
- Use Procreate’s pinch-to-zoom and the Reference companion window for easy pixel-level editing and preview.
Set Up Your Pixel Art Canvas and Grid in Procreate
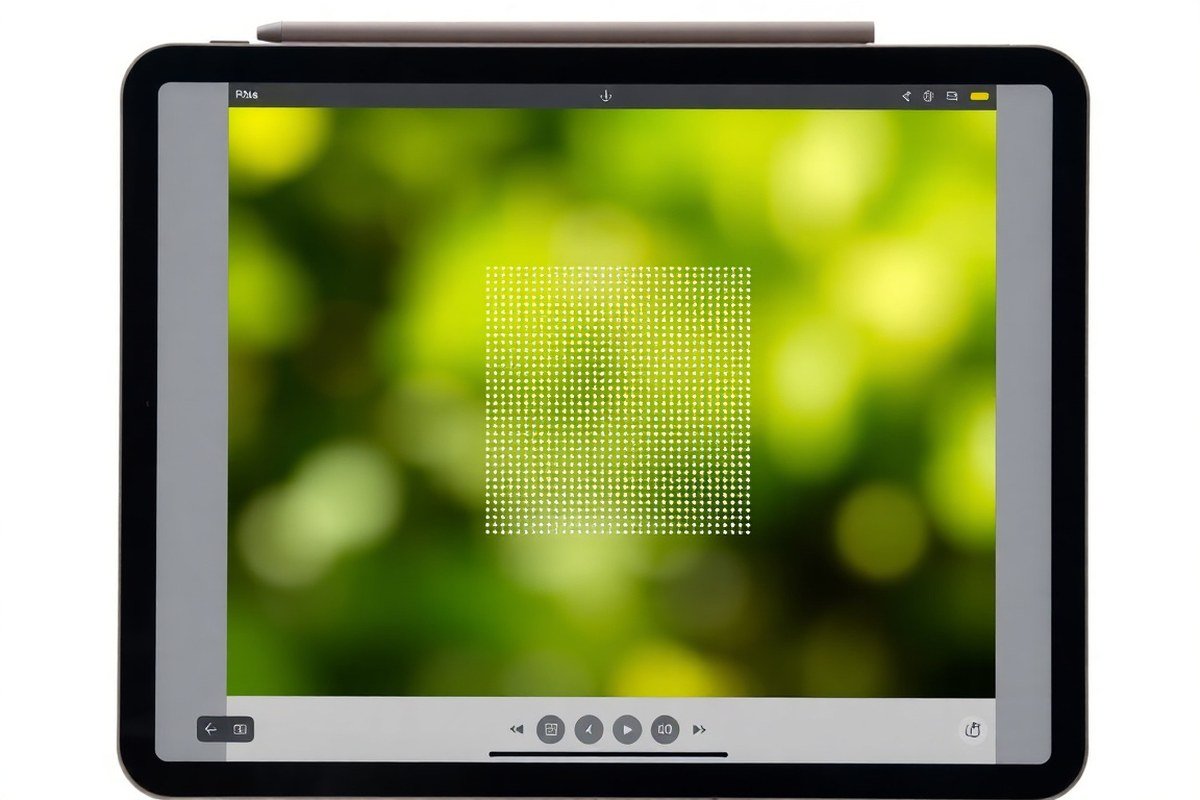
Choosing the right canvas size and enabling a precise grid are essential for creating clean pixel art in Procreate. A small canvas, such as 100×100 pixels, is typical because it matches the limited scale of pixel art, making your work clear and manageable. Larger sizes like 200×200 or 300×300 pixels can be used for more detailed pieces but require more zooming and patience. A transparent background helps by allowing your pixel art to layer easily over other artwork or backgrounds without unwanted color blocking.
Setting your workspace with a 1-pixel grid ensures every pixel you place stays aligned perfectly, which is important for pixel art’s characteristic sharp edges. Procreate does not offer a default pixel art preset, but you can customize the Drawing Guide for precision. Here’s how to set up your canvas and grid for pixel-perfect pixel art:
- Create a new canvas: Tap the ‘+’ icon and enter your desired size, for example, ‘100 pixels’ width and ‘100 pixels’ height. Use pixels as the measurement unit.
- Set a transparent background: Before creating, ensure ‘Background color’ is off or set to transparent to avoid unwanted backgrounds.
- Open Actions menu: Tap the wrench icon in the top menu to find canvas and drawing options.
- Enable Drawing Guide: Tap ‘Canvas’ then toggle on ‘Drawing Guide.’
- Edit the Drawing Guide: Tap ‘Edit Drawing Guide’ and select ‘2D Grid.’
- Adjust grid size: Use the grid size slider or input to set it exactly to 1 pixel for perfect alignment.
- Confirm and exit: Tap ‘Done’ to save settings; zoom in to work comfortably and see individual pixels clearly.
| Canvas Size (pixels) | Recommended Use |
|---|---|
| 64×64 | Simple icons, emojis |
| 100×100 | Small characters, minimal detailed sprites |
| 200×200 | More detailed sprites, small scenes |
| 300×300+ | Complex pixel art, larger scenes |
Create or Customize a Pixel Brush for Sharp Pixel Lines
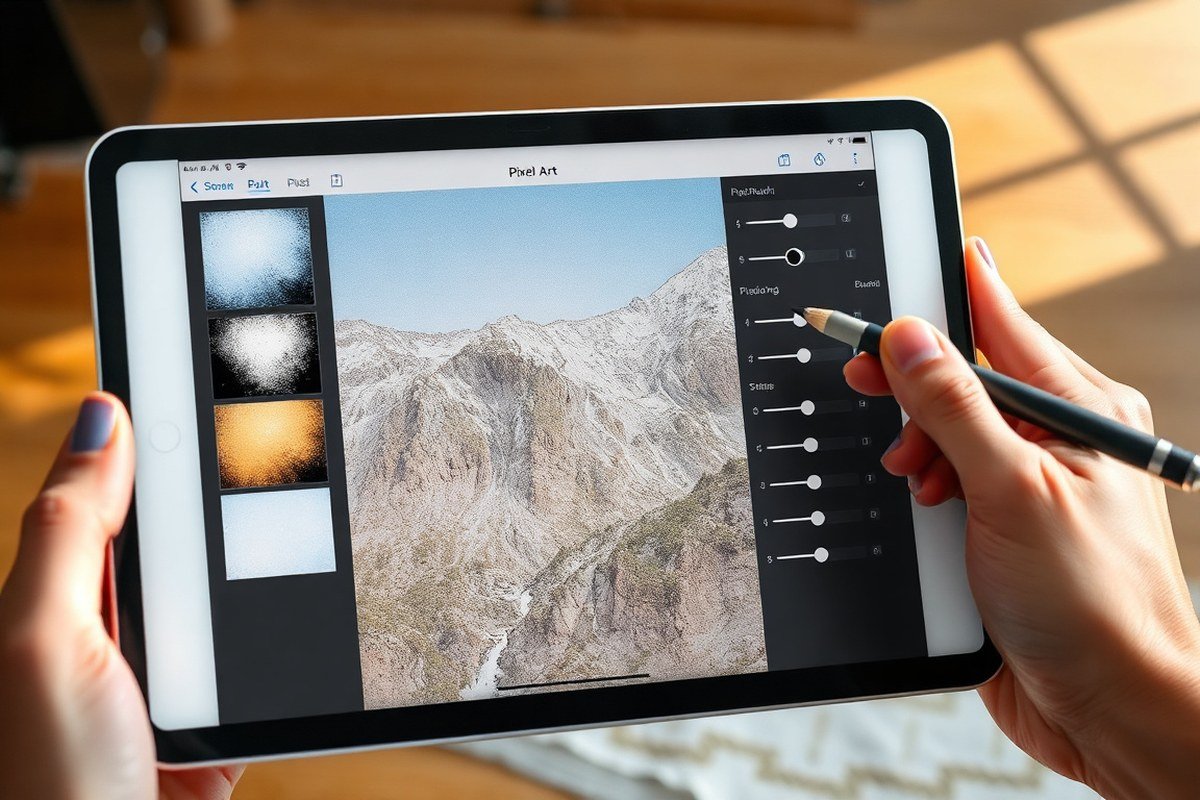
Crafting your own pixel brush in Procreate ensures you get sharp, 1-pixel-wide lines without any unwanted smoothing or blurring. This is essential because pixel art depends on crisp, blocky edges that maintain clarity even at very small sizes. You want a brush that never changes size with pressure and has zero spacing between dots to produce clean, continuous strokes. Follow these steps to create a fixed-size, hard-edged pixel brush:
- Open the Brush Library and tap the + icon in the top-right corner to create a new brush.
- Set the Brush Shape by choosing a 1-pixel hard-edged square or creating one in an external app, then import it into the Shape Source.
- Adjust the Spacing slider under Stroke Path to 0% or as low as possible so pixels connect continuously without gaps.
- Disable Size Pressure by going to Properties > Apple Pencil > Pressure and setting Size to 0%. This keeps the brush size fixed, avoiding any size changes when you press harder or softer.
- Turn Off Jitter in the Stroke Path section to prevent any randomness in pixel placement that would blur edges.
- Set Flow to 100% for consistent opacity. Avoid any opacity pressure to keep pixel colors solid and blocky.
- Test and Adjust by drawing a line at 1-pixel brush size. If the edges look anti-aliased or soft, recheck pressure and spacing settings.
Procreate doesn’t have a native pixel brush, so creating your own is a reliable option, especially if you want total control. You can convert some existing hard-edged brushes by resizing the tip to 1 pixel and adjusting the same settings above, but this won’t always produce perfect pixel art lines. Buying pixel brush packs online, like Futinuro’s brushes, saves time and often includes multiple sizes and presets, which might be worth it if you regularly create pixel art.
Be cautious of common mistakes: avoid using any softness or anti-aliasing in the brush shape, don’t add spacing, and disable any pressure sensitivity for size or opacity. These ensure every stroke looks sharp and pixel-perfect.
Master Coloring and Palette Management for Pixel Art
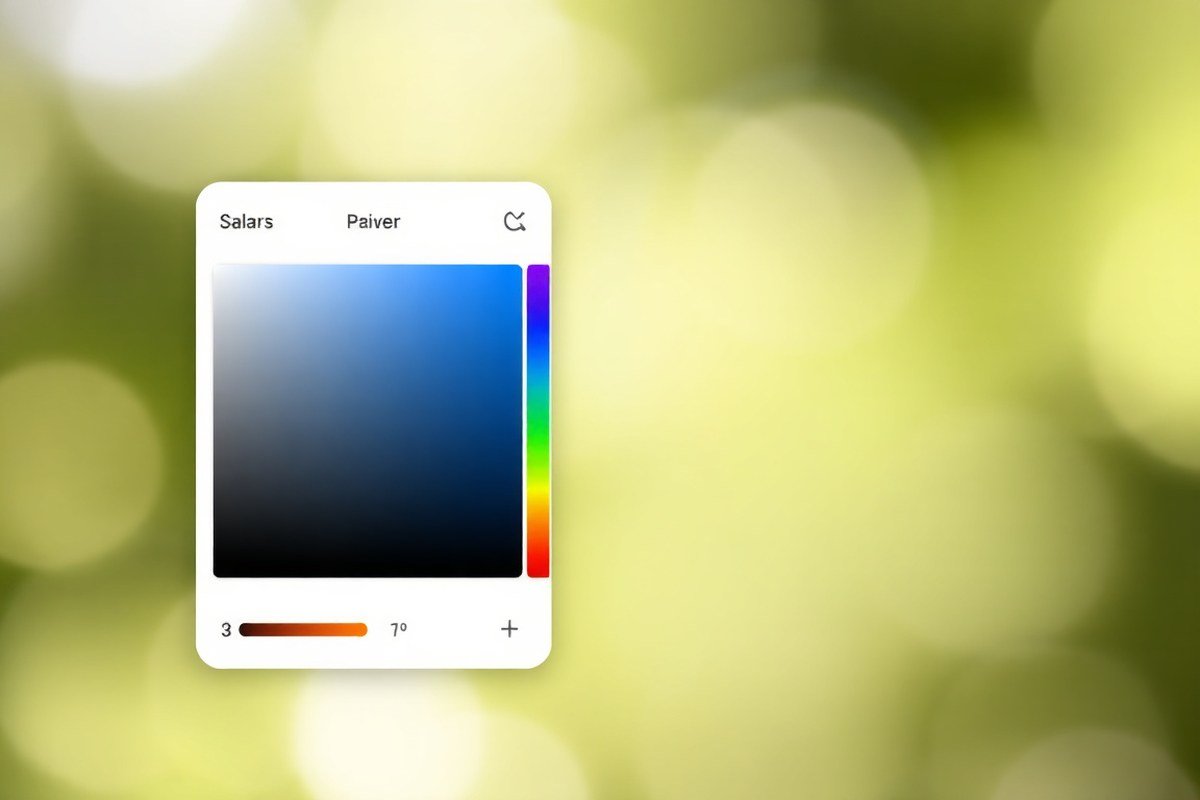
Pixel art relies on a Restricted set of colors, usually around 4 to 5, to maintain a clean and true-to-form vintage look. Using too many colors can make the style lose its crispness and produce irregular shading. In Procreate, you can add a palette by opening the Palettes panel, tapping the + symbol, then selecting “New from File” or “New from Photo” to load a PNG palette. Once imported, do not alter or add new colors during your project to ensure color uniformity.
Choosing the right Color profile matters when exporting your pixel art. SRGB IEC61966-2.1 is the safest choice for sharing your art on the web and most apps because it offers wide compatibility and consistent colors across devices. Display P3 supports a broader color gamut, producing richer colors but is best if your audience mainly uses Apple devices. Here is a brief comparison:
| Color Profile | Best For | Color Range |
|---|---|---|
| SRGB IEC61966-2.1 | Web, cross-platform sharing | Standard, narrower gamut |
| Display P3 | Apple devices, richer colors | Wider gamut, more vibrant |
Shading in pixel art requires careful Color theory application. Use strong contrast between lights and darks to define shapes, apply a limited number of shades usually 2 to 3 per area, and maintain a consistent light source. Avoid smooth gradients; opt instead for clear pixel clusters that suggest form and shadow.
- Limit your palette to 4-5 colors before starting
- Import palettes via Procreate’s Palettes panel and lock the palette
- Pick sRGB for web or Display P3 for Apple device sharing
- Use 2-3 shades per object for clear, crisp shading
- Keep your light source consistent for believable shadows
- Use pixel clusters rather than smooth gradients for shading
Following these steps helps create distinctive pixel art that is visually striking and technically sound on any platform. Managing your palette tightly and shading with intent gives your pixel art clarity and style.
Optimize Your Pixel Art Workflow Using Procreate Features
Using Procreate’s zoom and Reference companion window boosts your pixel art accuracy by letting you work up close while always seeing the whole piece at normal size. This setup avoids guesswork when editing tiny pixels and preserves your view of the sprite’s overall look. Gestures and shortcuts like pinch-to-zoom, two-finger tap to undo, and three-finger tap to redo speed up editing by reducing menu dives. Basic animation can be done in Procreate using the Animation Assist feature, which helps you create pixel art frames and preview them directly inside the app. To use the Reference window and optimize your pixel art workflow, follow these steps:
- Open Procreate and your pixel art canvas. Ensure your canvas is set up with a pixel grid and appropriate resolution.
- Enable the Reference window. Tap the wrench icon to open Actions > Canvas > Reference. The Reference window appears as a separate panel.
- Set the Reference view mode. In the Reference window, tap “Screen” to see a scaled-down full sprite version that doesn’t zoom when you zoom the canvas.
- Zoom your canvas up to 800%. Pinch to zoom on the canvas so you can place and edit pixels precisely while monitoring the overall sprite in the Reference window.
- Use essential gestures. Undo with two-finger tap, redo with three-finger tap, and pan your canvas by dragging with two fingers. These keep your flow smooth as you place pixels.
- Activate Animation Assist. Go to Actions > Canvas > Animation Assist to open the frame timeline at the bottom.
- Create animation frames. Add new frames by tapping the + symbol and draw your sprite variations on separate layers or frames.
- Play your animation. Tap Play to preview your pixel art animation directly, adjusting frames as needed.
This setup costs nothing beyond owning the Procreate app and an iPad. The Reference window helps prevent pixel misplacement, and gestures keep editing fast. Animation Assist is basic but effective for simple pixel sprite animations. Expect slower workflows for complex animations compared to dedicated software designed for pixel art but very manageable for small projects on an iPad.
Export, Share, and Troubleshoot Pixel Art Issues
Exporting your pixel art without losing its sharp edges or clear colors means using the right file format and settings. PNG is the best format because it supports lossless compression and preserves crisp edges. Avoid JPEG, as it introduces blurriness and compression artifacts that ruin pixel-perfect details. When exporting in Procreate, don’t resize or downsample your art; instead, keep the resolution at its original pixel dimensions.
Use Procreate’s Share menu under the wrench icon to export. Select PNG and make sure to disable any automatic resizing or compression options. Setting the color profile to sRGB standard is a safe choice for web and digital platforms. Avoid exporting at 300 dpi or other print resolutions; dpi only matters for printing and has no effect on pixel art clarity on screens.
- Choose PNG format for lossless export
- Set color profile to sRGB for consistent colors
- Export at 1:1 pixel size to prevent blurring
- Disable any downscaling or compression during export
- Do not use JPEG or TIFF for pixel art sharing
- Check exported image at 100% zoom to confirm sharpness
Sharing pixel art varies by platform. Social media like Instagram or Twitter often recompress images, causing some quality loss. For best results on social or portfolio sites, upload PNGs at the original size and check previews. If you need smaller files, use Procreate’s export settings to resize but keep a whole-number scale (e.g., 2× or 3×) without filtering to retain pixel edges.
Common mistakes include exporting at a higher resolution and scaling down in an external app, which causes soft pixels, or saving as JPEG. Fix these by always exporting directly from your pixel-sized canvas, choosing PNG, and verifying no resizing options are enabled. Preview your export at 100% zoom on a device to spot issues before sharing.
Step-by-Step Action Plan to Start Your Pixel Art in Procreate
Follow these steps to set up your workspace and create your first pixel art piece efficiently. Each phase ensures you build solid skills for sharp, colorful pixel art.
- Before you start: Set your canvas to a small, square size like 32×32 pixels and turn on the drawing guide grid. Confirm the grid matches your pixel size by zooming in and checking alignment.
- Day 1: Create or import a pixel brush with 1-pixel size and hard edges. Test it by drawing single pixels at maximum zoom to verify clean, sharp lines without blurring.
- Day 2: Build a limited color palette of about 8-16 colors suitable for your art style. Apply these colors to simple shapes and verify color consistency without gradients.
- After 3 days: Practice using layers and selection tools for precise pixel placement and edits. Check that you can move and modify pixel clusters without distortion.
- After 1 week: Experiment with Procreate’s features like Alpha Lock and QuickShape to create smooth pixel art shapes quickly. Confirm these tools maintain pixel clarity.
- After 2 weeks: Export your pixel art as PNG without resizing or resampling. Preview the file on different devices to ensure your pixels remain crisp and evenly sized.
- Ongoing: Troubleshoot common pixel art issues like unintended anti-aliasing by adjusting brush settings or grid snapping. Repeat improvements until your art matches the pixel-perfect style.
Frequently Asked Questions
How Do I Create a Pixel-Perfect Grid in Procreate?
Use the Drawing Guide with the 2D grid option and set grid size to 1 pixel for perfect alignment. This helps keep every pixel precisely placed while you draw.
Can I Animate Pixel Art Directly in Procreate?
Yes, use Procreate’s Animation Assist feature to create frame-by-frame animations for pixel art. Keep canvas size small to maintain pixel clarity.
What Brush Settings Give the Best Pixel Art Effect in Procreate?
Set brush size to 1 pixel, use hard edges, and turn off brush smoothing for sharp lines. Disable Wet Mix to avoid color blending.
How Can I Avoid Blurring When Resizing Pixel Art in Procreate?
Use nearest neighbor (no interpolation) when scaling up your pixel art to keep edges sharp and clear. Procreate’s native resize applies smoothing by default.
Is Using Layers Helpful for Pixel Art in Procreate?
Yes, layers let you separate elements, test colors, and edit without affecting other parts. Organize layers for easier revisions in pixel art projects.
The Bottom Line
Producing crisp pixel art in Procreate is achievable by mastering the right canvas settings, brush customizations, and color management. Focus on creating with pixel precision and using Procreate’s specific features that preserve sharp edges. Start applying your pixel brush and palette skills to a small project today, noticing how consistent pixel placement shapes your final image.