How Do You Make Prints of Your Art: 7 Proven Steps for Quality Prints
How do you make prints of your art? Start by digitizing your artwork with a high-resolution scanner or camera to capture every detail. Preparing your digital files at 600 DPI ensures your prints stay sharp and vibrant. High-quality printing methods and archival materials keep your prints looking their best for years.
Key Takeaways
- Use a scanner or camera to create a digital copy of your artwork before printing.
- Set your digital files to 600 DPI for sharp, gallery-quality prints.
- Choose pigment-based inks for fade resistance and print longevity over dye-based inks.
- Select acid-free, archival paper to protect your prints from yellowing and deterioration.
- Consider professional print services for high-quality Giclée prints lasting over 100 years.
- Adjust your print margins and file size to match the final print dimensions accurately.
1. How to Digitize Your Artwork for Printing
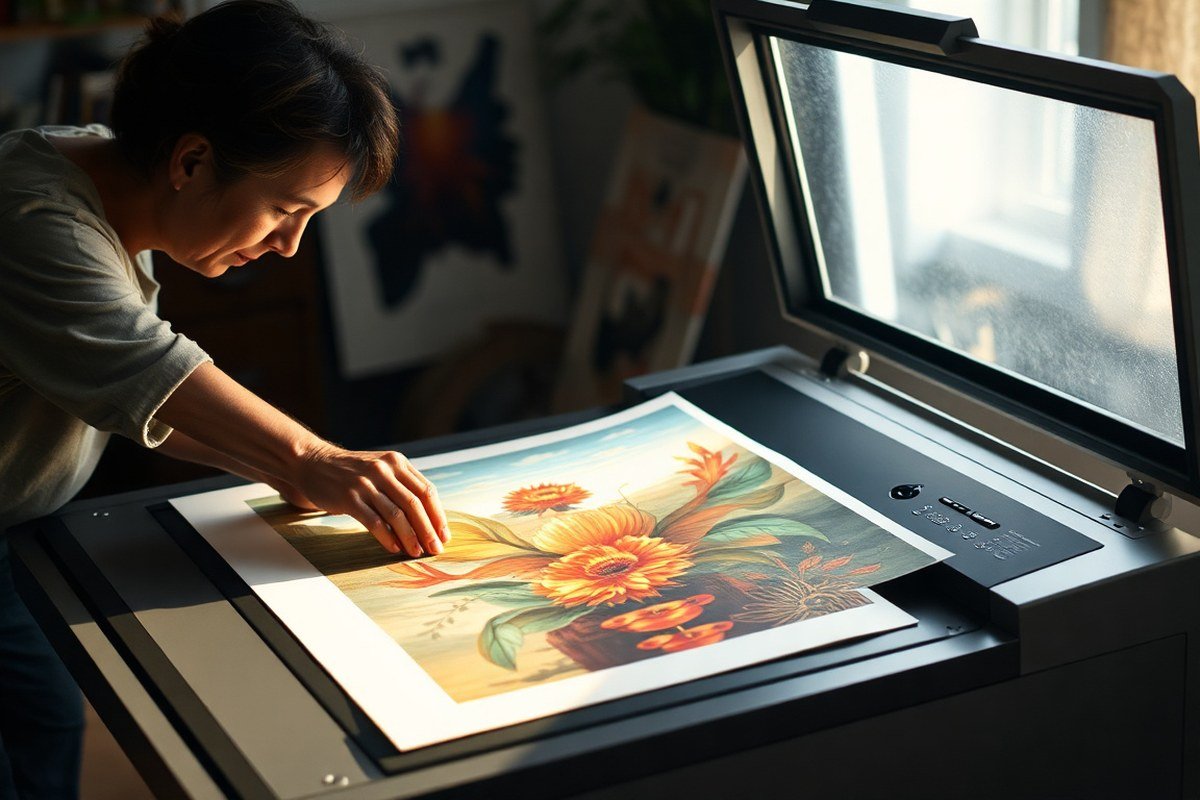
When creating digital files of your physical artwork for printing, choosing between scanning and photographing depends on the size, texture, and detail of your piece. Scanning works best for flat, smaller artworks up to about 12×17 inches. It captures detail quickly and at high resolution, 600 pixels per inch (ppi) is ideal if you want prints twice the original artwork size at 300 dots per inch (dpi) print quality. Scanning costs vary, but a good flatbed scanner can range from $100 to $300, making it an affordable option that requires minimal setup. However, scanning may struggle with texture or dimension, and it doesn’t offer control over lighting and color beyond the scanner’s capabilities.
Photographing your artwork is necessary for larger pieces, textured surfaces like canvas, or three-dimensional work. Use a high-quality camera with at least a 12-megapixel sensor to produce files suitable for large prints. Position your artwork in natural, indirect light or use soft, even artificial lighting to avoid glare and harsh shadows. A tripod stabilizes your camera to prevent blur, and shoot straight-on to minimize distortion. Setting your camera’s resolution to the highest setting ensures maximum image quality from your photo.
Lighting is critical when photographing, as uneven or overly warm light can shift colors, resulting in prints that don’t match your original. Use daylight-balanced bulbs (around 5000 Kelvin) or natural daylight, and avoid direct sunlight which causes hot spots or shadows. Adjust your camera’s white balance manually or in post-processing to maintain color accuracy.
Scanning is faster and often simpler for small, flat artwork, producing sharp images with less editing needed, but has size and texture limits. Photographing takes more time and effort to get lighting, focus, and color right but is essential for larger and textured originals. Knowing when and how to use each will help you create digital files that retain your art’s quality and detail for professional-grade prints.
2. Preparing Your Digital Files for Art Print Quality
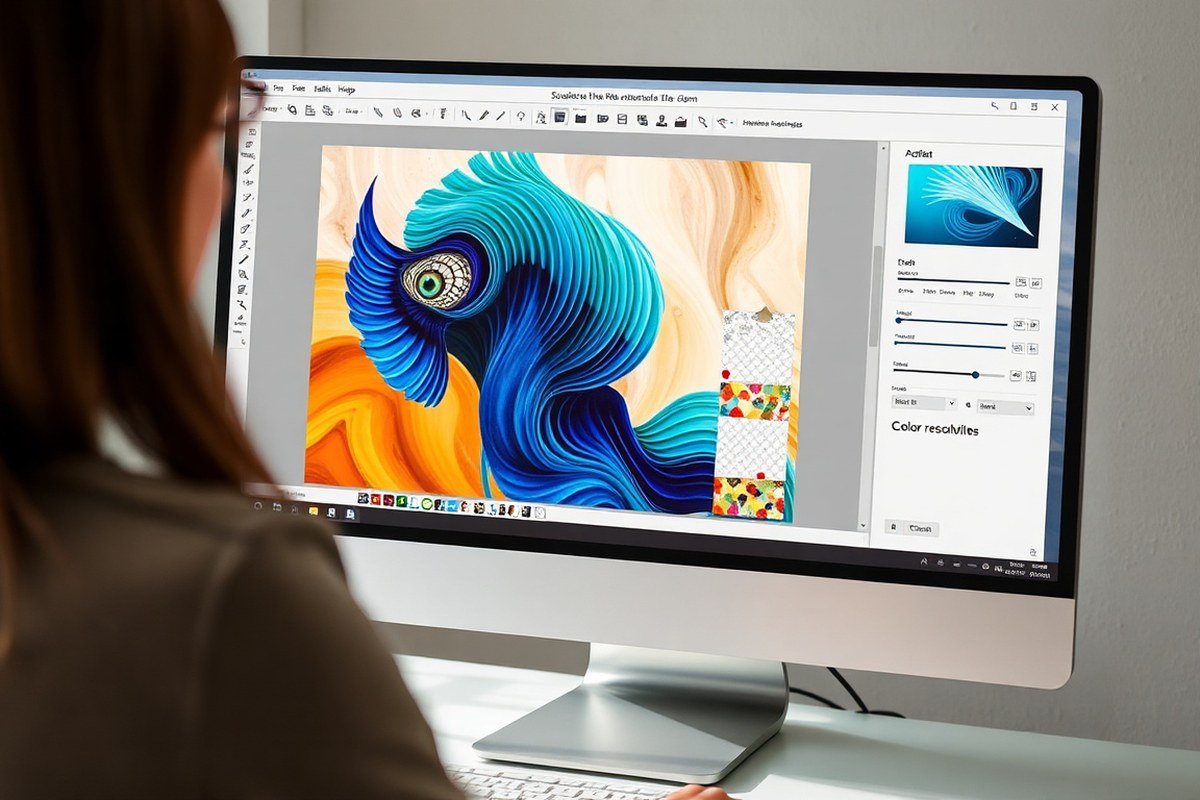
Choose a file format that preserves maximum detail and color accuracy, such as TIFF or PNG. These formats avoid the compression artifacts common in JPEG files, which can reduce print quality. Keep your files uncompressed to maintain crisp lines and fine details in your artwork.
Set your file resolution to at least 300 DPI at the actual print size to ensure sharp prints. For fine art prints, aim for 600 DPI to capture subtle textures and detail, especially when printing at 100% size or smaller. Higher DPI settings increase file size significantly, which may affect storage and upload times. For example, scanning an A4 artwork at 1200 DPI allows you to print up to A1 size without losing sharpness.
Convert your finished artwork to the sRGB IEC61966-2.1 color profile before saving. This profile is standard for most printers and helps maintain consistent color reproduction across devices. You can do this using image editing software like Adobe Photoshop or free tools like GIMP by selecting “Convert to Profile” under color settings. Avoid using your monitor’s default RGB profile or printer-specific profiles unless recommended by your print provider.
Prepare the file size carefully by adjusting image dimensions to your intended print size. For example, if printing an 8×10 inch print, at 300 DPI, the image should measure 2400×3000 pixels. Larger prints require proportionally higher pixel dimensions to avoid pixelation. Keep the file size manageable by balancing resolution with the complexity of your artwork and your system’s storage capacity.
Always double-check your file’s color calibration and resolution before sending it to print. Look for any unexpected blurring or color shifts that might occur when converting profiles or resizing. Taking these steps reduces wasted prints and ensures the physical copy closely resembles your original art.
3. Choosing the Right Printing Method for Your Art
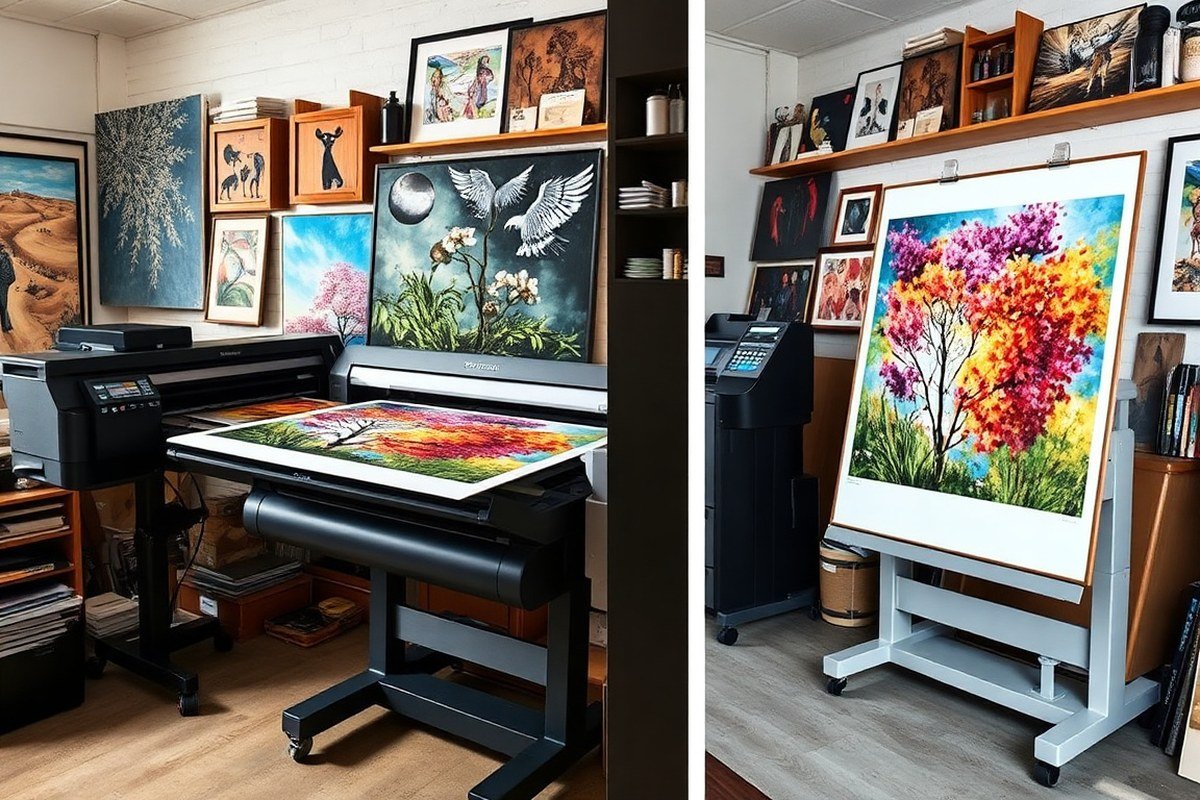
Choosing the right printing method depends on your goals, budget, and how much control you want over the process. Home printing allows you to test prints immediately and adjust as needed, which is ideal for small quantities or personal use. A standard dye-based printer at home costs between $100 and $500, but the print quality typically won’t match professional fine art standards, especially on color accuracy and archival longevity.
Professional giclée prints use pigment-based inks and archival paper with weights starting around 170 gsm, often up to 300 gsm or more for premium fine art papers. Giclée prints reproduce exquisite detail and vibrant colors, making them popular among artists who want to sell limited editions with museum-quality longevity. These prints look sharp and last decades without fading. However, they usually require ordering proofs or samples and can cost $20 to $100 or more per print depending on size and paper choice.
Laser prints are less common for fine art because they use toner instead of ink and often lack the color depth and subtlety artists want. While laser printing is faster and cheaper for bulk, it doesn’t offer the same archival quality or richness as giclée or inkjet prints. You might use laser prints for promotional materials but not for selling fine art reproductions.
Print-on-demand (POD) platforms provide an easy way to sell your art without upfront costs or inventory. Services like Saatchi offer print-on-demand with giclée-quality options, handling everything from printing on archival paper to shipping directly to your customers. POD lets you focus on creating rather than managing print stock, but you have less control over paper choices and cannot usually label your prints as “fine art” or “limited edition.” POD suits artists starting out or those with a broad online audience.
Use this checklist to decide: if you want full control and high-quality archival prints for limited editions, choose professional giclée printing or invest in a pigment ink home printer. For testing ideas or occasional prints, home printing works. Laser prints fit low-cost promos, not fine art sales. If upfront cost and managing inventory worry you, print-on-demand can help launch your art print sales efficiently.
4. Selecting the Best Paper and Inks for Fine Art Prints
Choosing the right paper significantly impacts the appearance and longevity of your fine art prints. Cotton rag paper is an excellent choice for archival-quality prints due to its acid-free nature and soft, velvety texture. It’s ideal for detailed, textured artworks where a natural feel improve the print. Archival paper of similar weight and composition also supports durability and tone stability. For artwork with bold colors or smooth gradients, a matte paper surface can reduce glare and provide a flat, consistent look. Textured papers add physical depth but may soften fine details, so they suit artwork styles that benefit from a tactile quality rather than sharp precision.
Regarding inks, pigment-based inks outperform dye-based ones in resistance to fading and color shift. Pigment inks contain larger particles that sit on the paper surface, making them less prone to degradation by light or moisture. Dye-based inks penetrate the fibers and offer more vibrant colors initially but typically fade faster. For archival prints intended to last decades without noticeable fade, investing in a printer or service that uses pigment inks is essential. When combined with acid-free, archival papers, pigment inks can preserve your prints for 100 years or more under proper care, which means avoiding direct sunlight and high humidity.
When selecting paper and ink, balance factors like art style, desired texture, and print longevity. For example, a watercolor reproduction with delicate shading suits cotton rag paper printed with pigment inks. Prints intended for casual display or short-term sales may tolerate dye inks and standard matte papers, which reduce costs. Always allow prints to dry fully before handling or stacking to prevent ink smudging. High-quality papers tend to cost between $1 and $5 per sheet depending on size and brand, while pigment ink cartridges vary widely but typically increase upfront investment. The visual depth, texture, and durability you achieve justify these costs, especially for collectors and galleries demanding archival standards.
5. How to Print Your Artwork at Home for the Best Results
Start by choosing a printer designed for fine art prints, like an inkjet model with pigment-based inks, which offer better longevity and colour accuracy. Popular choices include Epson SureColor P700 or Canon imagePROGRAF PRO-1000, but printers with similar specifications can also work well. Set your artwork size to match your paper dimensions exactly to avoid cropping or scaling issues. Adjust the resolution to 300 pixels per inch for sharp detail; remember that increasing DPI beyond your source image resolution won’t add quality.
Configure your printer settings for optimum colour by selecting the appropriate ICC colour profile that matches your ink and paper combination. This setting matters because it ensures colours print true to your digital file. For paper type, tell your printer whether you’re using matte, glossy, or textured fine art paper, as ink application varies significantly by surface. Heavier paper, typically 190 gsm or higher, works better for large prints to avoid warping or curling after printing.
Run test prints on small sections before committing to full-size prints. Try both smooth and textured papers to see which complements your artwork style best. Expect some trial and error: blotching or uneven ink can often be corrected by adjusting paper type settings or allowing longer drying times. Avoid printing too quickly or handling prints before they dry to prevent smudges. Using genuine inks from your printer’s manufacturer also helps maintain quality and avoids clogging.
Keep in mind that printers with fewer ink cartridges may struggle with colour fidelity in digital art reproductions. If you notice dull or inaccurate colours, recalibrate your monitor and printer profiles. Check for dust or debris on paper or print heads before each run, as imperfections can cause streaks or spots. Aim for a clean, well-lit workspace with no humidity extremes, as paper absorbs moisture and affects ink adherence.
6. Using Print-on-Demand and Professional Services for Selling
Print-on-demand (POD) platforms like Printify and Printful let you sell art prints without holding inventory or investing upfront in printing equipment. You upload your digital files, choose products, and when a customer orders, the POD service prints and ships the item directly. This approach requires no storage space and reduces financial risk. Setting up is usually straightforward, involving creating an account, uploading high-resolution images following the platform’s specifications, and linking your store to marketplaces like Etsy or your website. Commission fees and product prices vary, but expect to pay between $10 and $30 per print depending on size and material, plus shipping.
Using a professional print shop means you control all stages of production and quality, often producing finer detail and color fidelity through direct communication with the print technicians. You typically pay upfront for print runs and handle shipping yourself. This can increase costs but gives you more oversight, ideal if you plan limited editions or gallery-quality prints. Print shops can charge around $50 or more for a single fine art print on archival paper, not including framing or packaging. Costs drop with volume but require storage and time to manage orders and shipping.
A quick comparison shows that POD services excel in convenience and scalability with lower risk but sometimes trade off the highest print quality and customization. Print shops provide the best quality and creative control at the cost of upfront investment and more hands-on order management. POD is best for beginners or selling smaller sizes quickly, while print shops fit experienced artists focusing on craftsmanship.
To start with POD, register on your chosen platform and upload artwork files in accepted formats (usually PNG or JPEG at 300 dpi or higher). Select print sizes and products, set your retail price factoring production and fees, then launch your store or integrate it with your online presence. Monitor print samples to check color and detail before full launch. For print shops, identify local or online providers specializing in fine art prints, discuss desired paper, inks, and sizes, then order samples. Once satisfied, order a batch, photograph your prints for marketing, and use your website or marketplaces to process sales and ship orders.
7. Pricing Your Prints to Sell Successfully
Calculating the cost per print starts by adding up all expenses involved in production. Include the price of materials like paper or canvas, inks, printing service fees, and packaging if applicable. Divide the total cost by the number of prints you produce in that run. For example, if printing 50 prints costs $300 in total, the cost per print is $6. This figure lays the foundation for setting your selling price.
Apply a markup to cover your profit margin and position your brand in the market. Common markups range from 2 to 3 times the production cost for fine art prints. Using the earlier example, a $6 cost per print with a 3x markup leads to a retail price of $18. You can adjust this depending on your target audience and how exclusive you want your prints to appear.
Limited edition prints usually command higher prices because of their exclusivity. Signing and numbering each print adds perceived value, so you can charge anywhere from 25% to 50% more than open edition pricing. For instance, if your open edition print sells for $20, you might price a limited edition signed print at $25 to $30. The smaller the edition size, the higher the price each print can justify.
Offering discounts can be helpful but keep them reasonable to avoid devaluing your work. Discounts around 10% to 15% work well during promotions or to encourage early sales. Always calculate your break-even point to ensure you don’t sell below cost.
Pricing art prints this way helps you cover costs, earn profit, and appeal to different buyer segments. Expect to revisit your prices occasionally based on costs, demand, and your growing reputation. Transparent pricing linked to Production costs and edition size supports a sustainable and professional approach to selling your art prints.
Step-by-Step Action Plan for Making Prints of Your Art
Follow these clear steps to create high-quality prints of your artwork, whether you’re printing at home or using professional services. Each step will help you track progress and ensure great results.
- Before you start: Digitize your artwork using a high-resolution scanner or camera. Verify the image’s resolution is at least 300 DPI and that colors look accurate on your screen.
- Day 1: Prepare your digital file by adjusting color profiles to Adobe RGB or sRGB and cropping to your desired print size. Check the file format is TIFF or PNG for best quality.
- Day 2: Choose your printing method, home inkjet printer for small runs or professional print-on-demand services for larger sales. Test a small print proof to confirm quality.
- Day 3: Select archival-quality paper and pigment-based inks if printing at home, or pick premium options provided by your print service. Verify samples to see the paper texture and color vibrancy.
- Week 1: Print your first batch of prints, monitoring drying times and avoiding smudges. Inspect prints for consistent color and sharpness before creating more copies.
- Week 2: Set your selling price by researching comparable artists’ prints and factoring in your production costs plus a profit margin. Adjust prices based on initial buyer interest.
- After 3 weeks: List your prints on online platforms or share with collectors and galleries. Track sales feedback to refine print quality or pricing as needed.
Frequently Asked Questions
How Do Painters Make Prints?
Painters typically make prints by digitizing their artwork through scanning or high-quality photography, then producing prints using methods like giclée or inkjet printing for detailed, archival-quality reproductions. This ensures color accuracy and longevity in their prints.
What Is the 80/20 Rule in Art?
The 80/20 rule in art suggests that 80% of your sales come from 20% of your artwork, so focus on producing and promoting your most popular pieces. This helps streamline your print offerings and maximize income.
What Is the Best Printer for Printing Art at Home?
The best printer for home art printing is usually a high-resolution inkjet printer designed for fine art, capable of 600 DPI or higher and supporting archival-quality inks. Such printers offer good color accuracy and allow you to control print quality in small batches.
What Kind of Art Prints Sell the Most?
Art prints that sell the most tend to be affordable, visually appealing pieces like limited editions, landscapes, or popular styles such as abstract and botanical art. Choosing prints that connect with your audience’s taste boosts your sales potential.
How Do I Protect My Print Files from Being Copied?
You can protect your print files by adding watermarks or using low-resolution files online, and controlling distribution carefully. This helps reduce unauthorized copying while still showcasing your work.
The Bottom Line
Making prints of your artwork is a step-by-step process that requires attention to detail at every stage, from digitizing to pricing. Taking concrete actions like testing proof prints and choosing the right materials improves the final product. Start by creating a high-quality digital file today, so you’re ready to explore printing options and open your art to a wider audience.