
How to Seal Diamond Art: Complete Guide with Pro Tips and Best Sealers
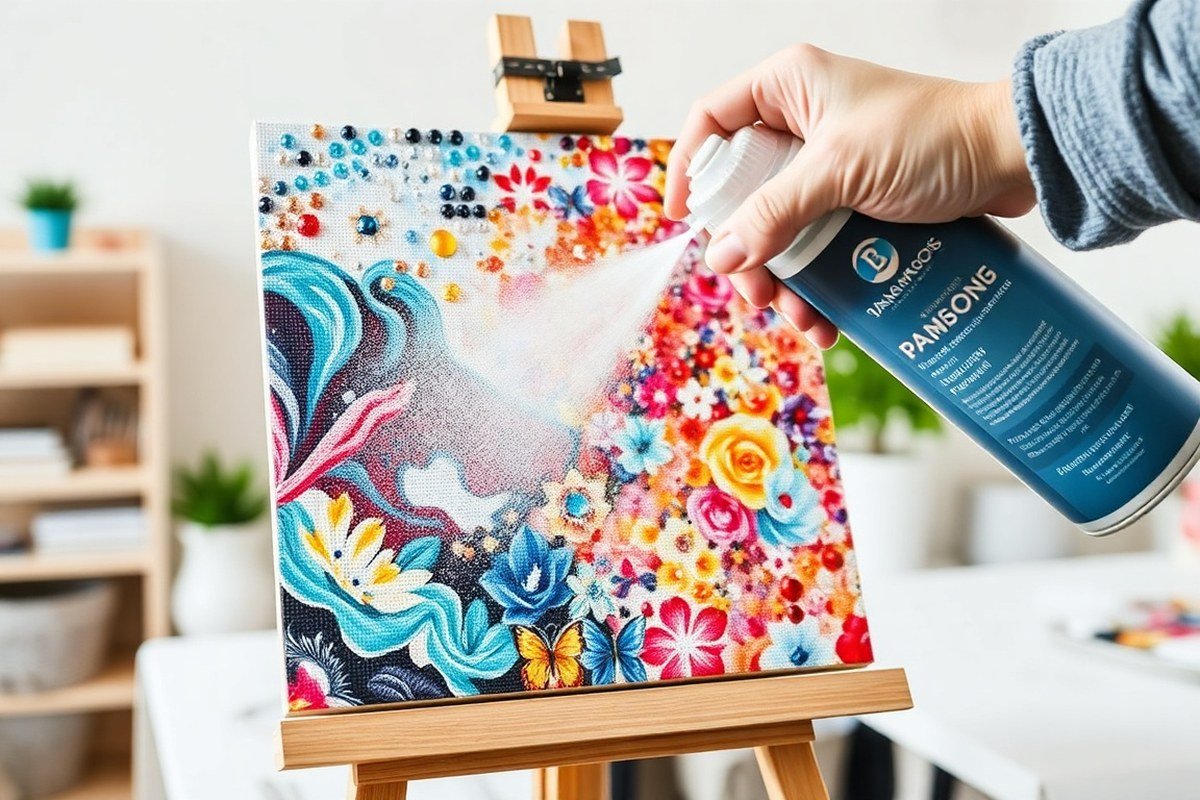
How to seal diamond art involves applying a clear sealer carefully to lock the diamonds in place permanently and protect your work from damage. Use either a spray or brush-on sealer, apply thin and even layers, then let it fully cure for at least 24 hours before framing. Holding the spray can upright about 10-12 inches away or dipping your brush properly ensures an even coat without disturbing your diamonds.
Key Takeaways
- Hold spray cans upright, 10-12 inches from the surface, for an even sealer application without clumping.
- Apply thin, even brush-on coats by dipping about 2 inches into the sealer and letting excess drip off before brushing.
- Let sealers cure fully for 24 hours or more to ensure maximum adhesion and durability.
- Reapply sealer every 4-6 years or sooner if the diamond art is frequently handled or exposed.
- Avoid cheap sealers that yellow over time; invest in quality products for long-lasting clarity.
- Wait 12 to 24 hours between coats for brush-on sealers to prevent uneven drying or tackiness.
How to Seal Diamond Art Properly Step by Step
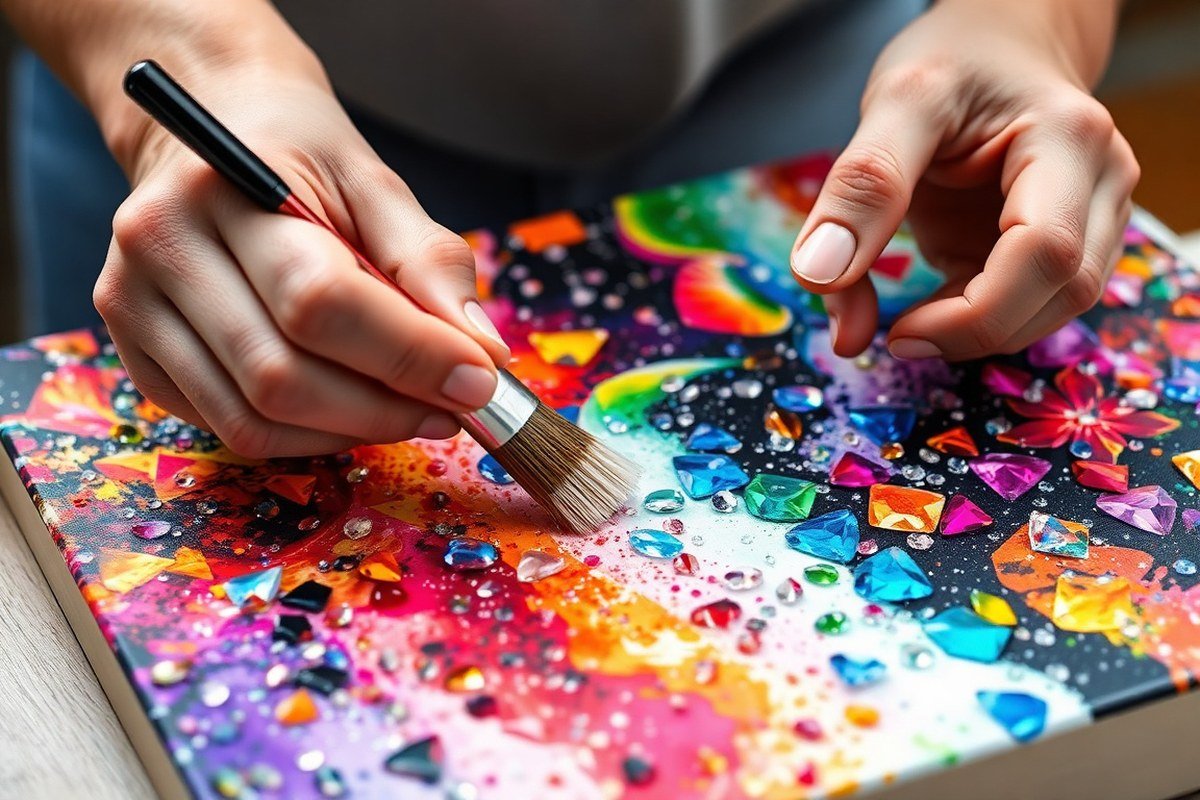
Sealing diamond art protects your work from dust, moisture, and loosening drills. You can choose a Brush-on sealer for thorough coverage between drills or a spray sealer for quick, even layers. The right time to seal is after pressing all diamonds firmly into place and ensuring the canvas is clean and dry. Prepare a clean workspace and gather materials like a soft flat brush, your sealant (Mod Podge, Deco Art Triple Thick, or a specialized diamond painting sealer), and optionally a spray sealant like Aleene’s Super Gloss Finish Acrylic Sealer.
- Press all diamonds gently using a rolling pin or a book to set them securely into the adhesive surface. This reduces the chance of drills popping off after sealing.
- Clean the canvas surface with a dry, lint-free cloth or soft brush to remove any dust, dirt, or loose drills before sealing. Avoid moisture that can affect adhesion.
- Apply the sealant with a soft flat brush in thin, even strokes following the drill pattern. Use minimal pressure to avoid moving drills. If using a spray sealer, hold the can 10 to 12 inches away and spray lightly across the canvas in sweeping motions.
- Allow the first coat to dry completely, typically 30 minutes to 1 hour depending on sealant instructions and room temperature (around 70°F is ideal).
- Repeat for 1 to 2 additional coats for durable protection. Multiple thin coats prevent clumping or clouding and ensure full coverage between drills.
- Cure your sealed diamond painting by letting it dry undisturbed for 24 hours in a dust-free area. This ensures the sealant fully hardens and bonds.
Maintaining even, light coats and waiting the recommended drying times is essential to avoid sealant cloudiness or adhesive weakening. Brush-on sealants generally provide stronger long-term holding power, while sprays speed up application but may require more frequent resealing.
Spray vs Brush-On Sealers: Which Works Best for Diamond Art?
Spray sealers and brush-on sealers each offer distinct advantages for protecting diamond art. Spray sealants, such as Krylon Crystal Clear Acrylic Coating, dry quickly, often within 15, 30 minutes, and maintain the natural sparkle with a glossy finish. They’re generally easier to apply evenly but require good ventilation and careful masking to avoid overspray. Brush-on sealers, like Mod Podge Ultra Gloss or DecoArt Triple Thick Gloss Glaze, allow more control and can be applied in precise layers, though they take longer to dry, typically 1, 2 hours. Brush-on types can dull diamond shine if applied too thickly or unevenly.
Durability and finish depend on the product and application technique. Spray-on sealers usually provide a smooth, protective layer without obscuring the facets’ shine. Brush-on sealers can add thickness and extra dimension but risk losing some brilliance if not applied carefully. Both can be suitable for sealing diamond art, but spray sealers are often preferred for preserving sparkle in large pieces. Mixing methods is possible, for example, finishing with a light spray after a brush-on coat can add durability without sacrificing gloss.
| Sealant Type | Brand Recommendation | Finish | Application Method | Dry Time | Key Features |
|---|---|---|---|---|---|
| Spray Sealer | Krylon Crystal Clear Acrylic Coating | Glossy | Spray | 15, 30 minutes | Fast-drying, weather-resistant, maintains shine |
| Brush-On Sealer | Mod Podge Ultra Gloss | Glossy | Brush | 1, 2 hours | Water-based, durable, excellent shine |
| Brush-On Sealer | DecoArt Triple Thick Gloss Glaze | Glossy | Brush | 1, 2 hours | Thick, adds dimension, high gloss |
| Brush-On Sealer | Mod Podge Matte | Matte | Brush | 1, 2 hours | Non-reflective, protects artwork |
| Spray Sealer | Krylon Matte Finish | Matte | Spray | 15, 30 minutes | Matte finish, quick-drying |
Choosing between spray and brush-on comes down to your project size, workspace, and desired finish. Spray sealers work best outdoors or in well-ventilated areas and cover large diamond paintings evenly without risking brush strokes. Brush-on sealers suit smaller pieces where precision and layering matter, though they require patience to avoid dulling effects. You can apply a thin brush-on base coat to seal gaps, then finish with a spray coat to ensure an even, glossy surface. Whichever method you pick, ensure the diamonds are clean and the painting is dry before sealing to get the best results.
Choosing the Right Sealer for Your Diamond Painting Finish
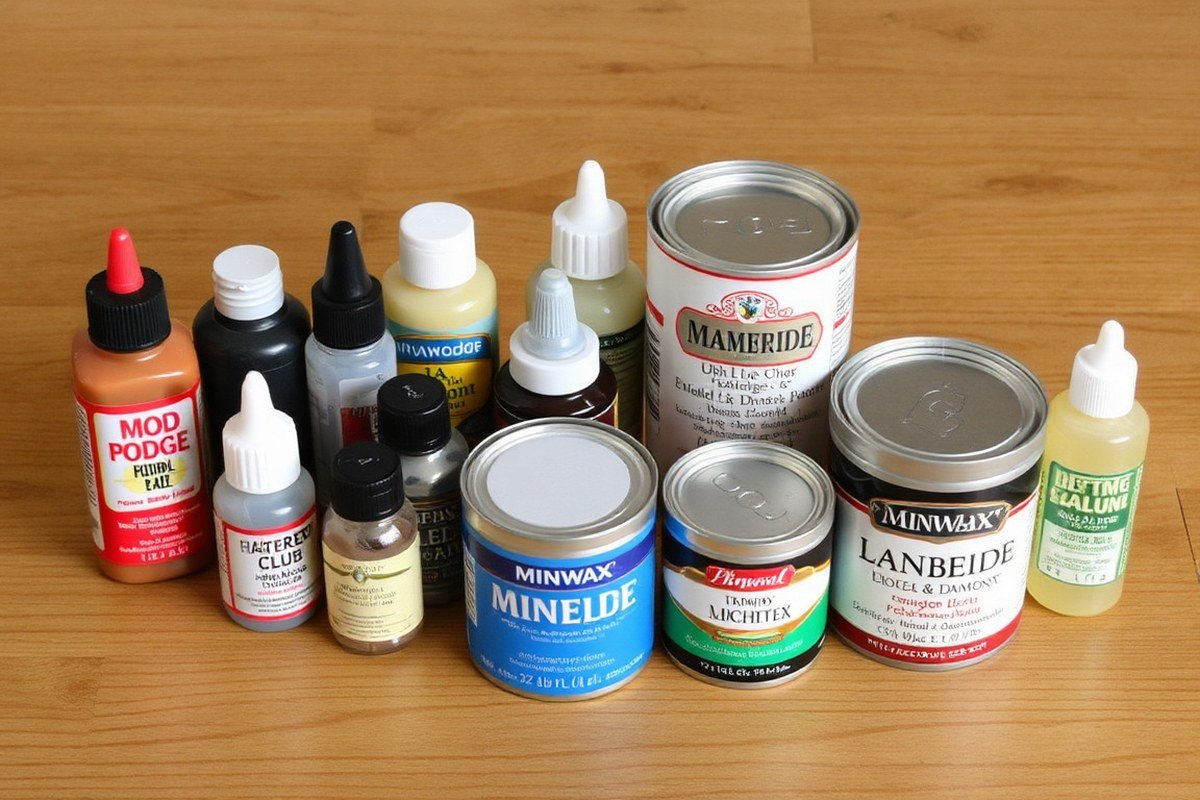
Choosing the right sealer finish depends on the look you want for your diamond painting and how you plan to display it. A Glossy sealer brings out vibrant colors and makes the diamonds sparkle more, perfect for artworks placed in bright rooms or under direct light. Glossy options like LANBEIDE Diamond Painting Sealer or Mod Podge Super Gloss provide a shiny, eye-catching finish, though they can show fingerprints and smudges more easily. For a more subdued, less reflective surface, Matte sealers are best. They help reduce glare and give your piece a soft, elegant look, ideal for spaces with lots of natural light or when you want a less flashy finish. Mod Podge Matte Gloss is an example designed to tone down shine while still protecting your work.
Sparkle or glitter sealers add extra shimmer but can sometimes look too busy or distract from the diamond art if overused. Sparkle Mod Podge gives a glitter effect but may draw attention away from the actual design. Spray and brush-on types are available for all these finishes, sprays typically provide smoother, even coats, while brushes let you control thickness more precisely.
Well-regarded brands include Aleene’s Super Gloss Finish Acrylic Sealer and Minwax Polycrylic Clear Gloss, known for durable, crystal-clear protection without yellowing. DecoArt Triple Thick Glaze offers a thick glossy layer but might be too heavy for delicate projects. Diamond Art Club’s Sealer Set is crafted specifically for diamond paintings, balancing protection and shine.
Using household items like hairspray as a sealer is generally not recommended. While it can temporarily hold diamonds in place, hairspray lacks long-term durability and may yellow or become sticky over time, compromising your artwork’s integrity.
When selecting a sealer, consider your artwork’s size, environmental exposure, and desired finish. A smaller piece in a low-humidity, indoor area might do well with a brush-on gloss for precision, while larger pieces benefit from spray sealers for fast, even coverage. Budget-wise, expect to spend about $8 to $20 per sealer, depending on the brand and finish. Always test a small corner first to ensure your chosen sealer complements your diamond painting’s style and adhesive.
Common Mistakes When Sealing and How to Fix Them
Over-applying sealant is a frequent mistake that can cause bubbles or a sticky, uneven surface on your diamond art. To prevent this, apply a thin, even layer using a soft brush or spray at a moderate distance. Use light coats instead of a heavy one and let each layer dry completely to avoid trapping air pockets underneath the sealant. Bubbles occur mostly from shaking spray sealants too vigorously or applying sealant in a humid or dusty environment. Try rolling a clean, soft object gently over the dried layer to flatten any small bumps before the next coat.
Yellowing of the sealant usually happens when using oil-based products, so look for water-based or clear acrylic sealants designed for crafts to keep your diamonds bright over time. Keep your workspace well-ventilated and at room temperature around 65-75°F for best drying conditions. When your diamonds feel loose after sealing, the sealant may not have bonded properly. You can fix this by gently pressing down loose diamonds, applying a very small amount of sealant on those spots to re-adhere them, and letting it cure fully without disturbance.
- Do apply sealant in thin, even layers and let dry between coats
- Do work in a dust-free, well-ventilated space at moderate temperature
- Don’t use oil-based sealants to avoid yellowing
- Don’t shake spray sealant cans vigorously to prevent bubbles
- Do press down any loose diamonds before sealing
- Do avoid touching the sealed surface until fully cured
To check if your sealant is working well, look for a clear, smooth finish without sticky or foggy spots. When damage or discoloration appears, carefully remove the sealing using a mild, craft-safe cleaner and start over. Proper sealing can fix small loose diamonds, but if many come off, check your adhesive quality before sealing next time. Avoid excessive handling during drying to protect the finish and keep your diamond art sparkling long term.
Maintaining and Displaying Your Sealed Diamond Art Safely
Maintaining your sealed diamond art involves gentle cleaning and mindful handling to preserve its finish. Use a soft, dry cloth or a microfiber duster to remove dust regularly. Avoid water or cleaning sprays, as moisture can weaken sealants and loosen drills. If smudges appear, lightly wipe with a barely damp cloth and dry immediately. Keep your artwork away from direct sunlight and extreme temperatures, since UV exposure and heat can cause sealant discoloration or cracking over time.
Framing diamond paintings behind glass offers excellent protection, especially for high-quality kits like those from Diamond Art Club, making additional sealing optional. Glass shields the surface from dust, debris, and moisture, preserving the drills’ sparkle. However, for lower-quality or partially drilled pieces, sealing before framing is advised to prevent drill loss or adhesive failure. When framing, use acid-free backing and UV-protective glass if possible to further safeguard your diamond painting’s colors. Avoid tight-fitting frames that might press on the drills, and leave a small gap between the glass and artwork to prevent sticking or damage.
Safety precautions during sealing require well-ventilated areas and protective gear. Spray sealants release fumes that can irritate eyes and lungs, so apply outdoors or near an open window while wearing a mask. Brush-on sealants should be used with gloves to protect your skin and avoid accidental spills on furniture or flooring. Always follow the product’s instructions for drying times and application layers, since rushing or over-applying can damage the finish or dull the diamonds. Store leftover sealant securely, away from children and pets.
How Environmental Factors Affect Sealing Results and Timing
Drying and curing times for sealants on diamond art depend heavily on the environment. Most sealants require 24 to 48 hours to fully dry, but full curing can extend to 72 hours for the best durability. Spray sealants usually dry to the touch within 15 to 30 minutes, while brush-on types may take 30 minutes to several hours. These times can increase if conditions are damp or cold, which slows the evaporation and bonding process.
Humidity levels above 60% will lengthen drying and curing times because moisture slows the sealant’s ability to set properly. Temperatures between 65°F and 75°F create the ideal environment for sealing your diamond painting. High temperatures can cause the sealant to dry so quickly that uneven patches or cloudiness form. Dust is another factor, you want a clean, dust-free workspace to avoid particles settling on the wet sealant, which can ruin the smooth finish.
- Keep humidity under 60% during and after sealing
- Maintain temperature between 65°F and 75°F for best results
- Seal in a dust-free area to avoid surface imperfections
- Allow 24 to 72 hours for full curing depending on sealant thickness
- Ventilate the area well but avoid direct airflow onto the painting
- Keep your diamond painting flat to prevent sealant pooling or running
Setting up your workspace carefully is important. Choose a flat, stable surface shielded from wind or open windows to control airflow. Use an air purifier or lightly wipe your workspace beforehand to reduce dust. These simple steps reduce the risk of bubbles, cloudiness, or uneven coating. Giving your sealed diamond painting the proper dry and cure time ensures a protective, clear finish that preserves its sparkle and value for years.
Step-by-Step Action Plan for Sealing Your Diamond Art
Follow these steps to protect your diamond painting and keep it looking vibrant for years. Each phase helps you apply the sealer correctly and ensures a durable finish.
- Before you seal: Make sure your diamond art is completely dry and free of dust or debris by gently brushing it with a soft, clean cloth.
- Right before sealing: Choose a sealer type that matches your project’s finish, spray for even coverage, brush-on for precision, then test on a small area to check adhesion and appearance.
- Day 1, sealing: Apply the sealer evenly over the diamonds, following product instructions for the best results; a thin, uniform layer is key to avoid clumps or streaks.
- After 1 hour: Let the first coat dry completely; check for sticky spots or uneven shine, then apply a second coat if needed for extra protection.
- After 24 hours: Inspect the surface for full dryness and firmness by applying gentle pressure to a hidden spot; no tackiness means sealing is successful.
- Week 1: Mount your sealed diamond art in a frame with UV-protective glass to prevent dust buildup and fading from sunlight exposure.
- Ongoing maintenance: Display your diamond art away from direct sunlight and moisture, and clean the surface gently with a dry, soft cloth every few months to preserve the sealed finish.
Frequently Asked Questions
Why Should You Seal Diamond Art?
Sealing diamond art protects the drills and adhesive, ensuring your work lasts longer. It also helps prevent dust and dirt from accumulating on the surface.
Can You Use Any Clear Acrylic Sealer for Diamond Paintings?
Not all clear acrylic sealers are suitable, choose one specifically designed not to dull the sparkle of the drills. Using the wrong type can reduce the shine and damage your piece.
Is It Necessary to Seal Every Diamond Painting?
Sealing is highly recommended to protect your artwork, especially if you want it to last years. Some crafters skip it for quick displays, but the protection won’t be as strong.
Can I Seal a Partial Drill Diamond Painting?
Yes, sealing a partial drill painting is possible and helps keep the exposed adhesive clean. Use a gentle, thin application to avoid damage to the un-drilled areas.
Do Sealed Diamond Paintings Need Special Cleaning?
Yes, sealed diamond art should be cleaned gently with a soft, dry cloth to avoid damaging the sealant. Avoid water or harsh chemicals to keep the surface intact.
Key Points to Remember
Sealing your diamond art extends its life, keeps the colors vibrant, and protects it from damage during display. Try a small test patch before sealing the entire piece to avoid surprises. Start by selecting the right sealer for your finish and take your time applying it for the best durable results.



One Comment